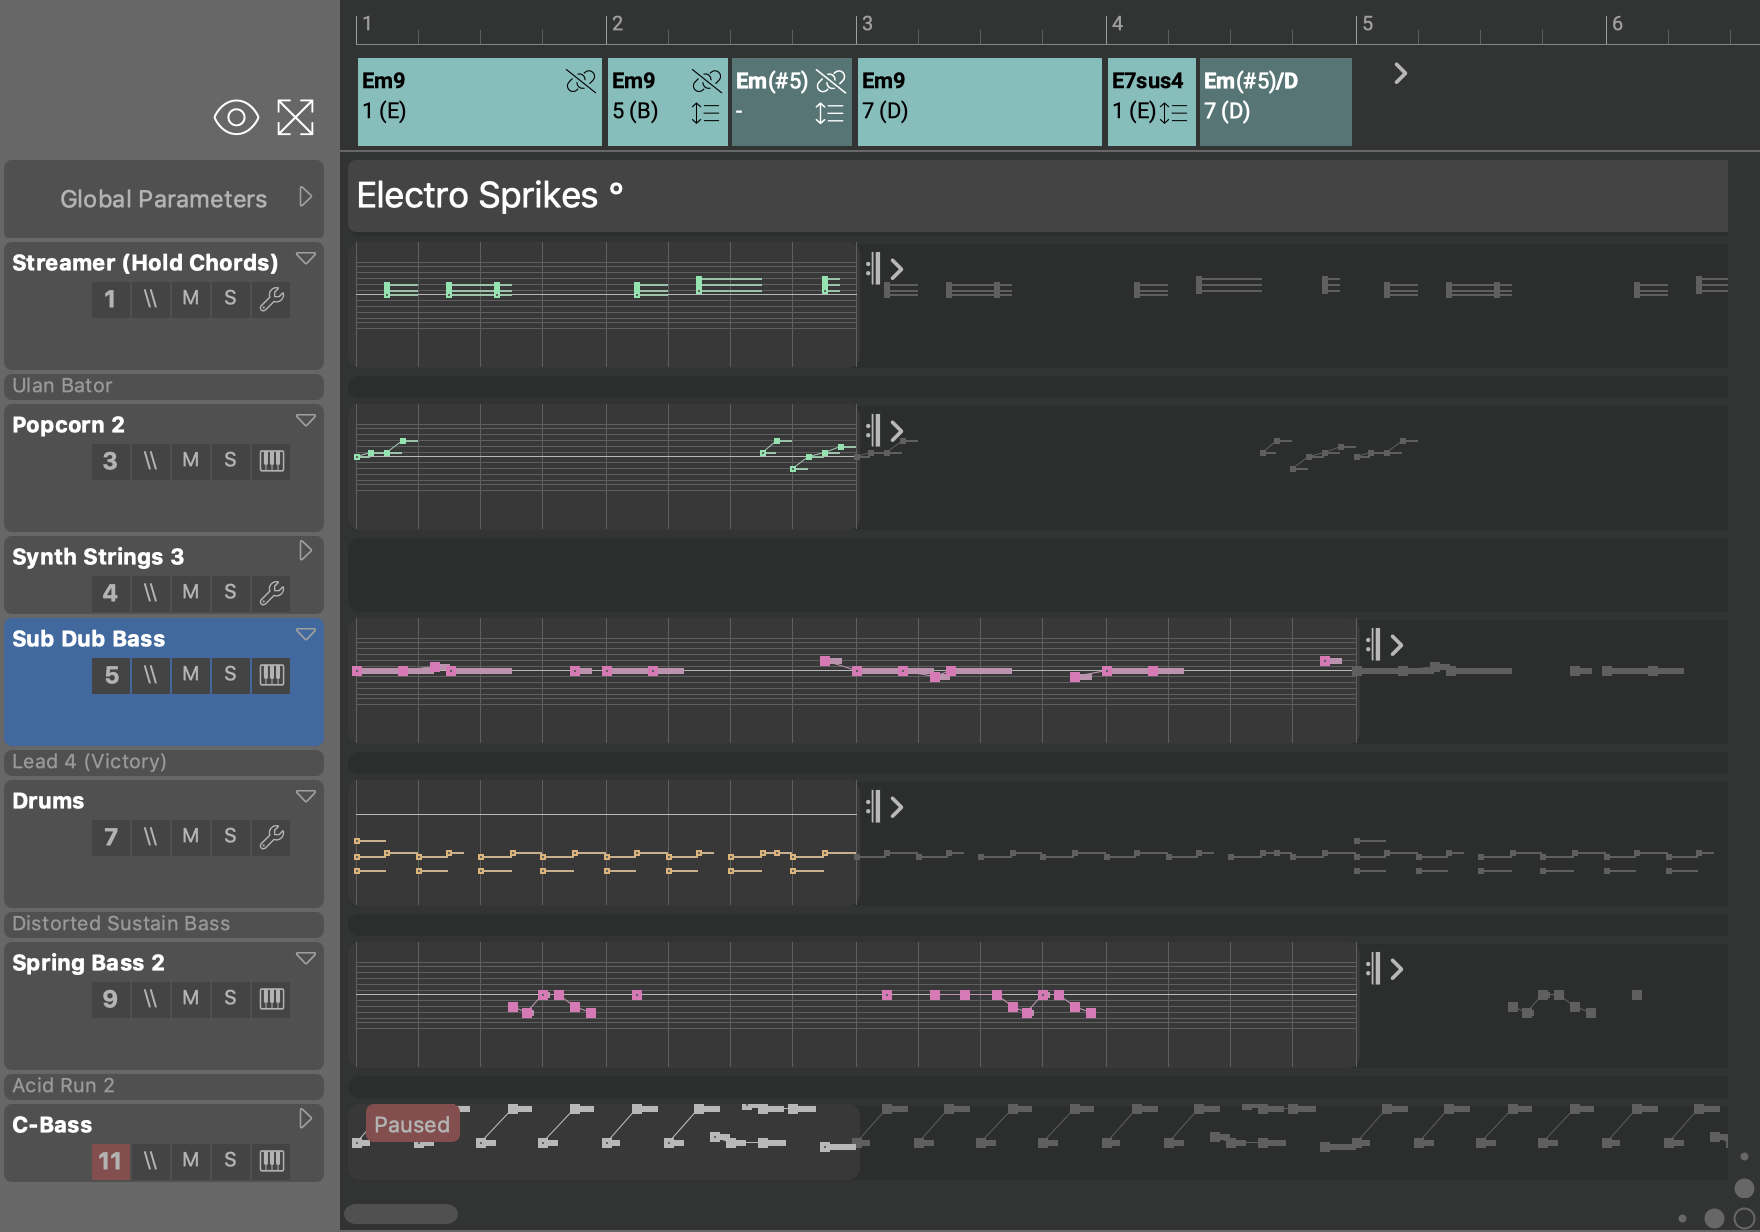
Track Sheet
For each Instrument there is a Track with a Header (left) and a Parameter View (right). Scroll the sheet up and down with the mouse wheel.
Toolbar
- Switch between three presentation modes. Hold down ⇧Shift to apply the change to all containers equally.
- Zoom to fit all contents. Right-click or hold Ctrl while you click to switch between zoom memories A and B.
- Group Buttons (A, B, C, D, E, F)
-
Control the visibility of Instrument Groups.
Click to view or hide a group. Alternatively you can use the menu .
Double-click to show all instruments again.
Right-click to remove all instruments from a group.
Headers
- Global Parameters
-
The parameters in this phrase apply to all instruments in the container alike. This is where Harmony, Tempo, Scheme and other global parameters are stored automatically, no matter where you edit them, or on which instrument you drop them.
You can experiment with non-global parameters here, like Rhythm, Step, Transpose, Shift, to achieve dramatic effects when they apply to all instruments at the same time.
- Collapse or expand the Parameter View. Double-click on the arrow to minimize or maximize. In Single-Phrase Snippets Only mode, this setting can't be changed manually in a Snippet.
- Instrument Name
- Click to select the instrument. Double-click to open or close the Phrase Editor. Names appear bold if at least one parameter is filled with data.
- Instrument Number (Pause)
- Three-way switch to control the Pause parameter.
Pause need not be constant, though. This switch
is merely for convenience.
-
Red: Pauses the entire phrase for the duration of the container.
-
Green: Overrides any pauses in parent containers and forces it off.
-
Gray: Neutral. Pause state possibly changes over the course of the container.
-
- \\\
- Inactivate (disable) the entire phrase. Great for A/B testing.
- M
- Mute audio output for this instrument.
- S
- Solo audio output for this instrument.
- Open the Sound Wizard to configure a sound for the instrument. There are more ways to assign a sound.
- Group Button (A, B, C, D, E, F)
-
Controls the visibility of the Instrument Group.
Click to toggle between showing the group or all instruments.
Right-click to remove the instrument from its group.
Use the Right-click Menu over a track header, or the menu to assign the currently selected instruments to a group.
Commands
Click on an instrument name first, to make it receive subsequent keyboard commands. You may select multiple instruments at the same time.
- Cut, Copy, Paste, Delete, Duplicate
- These commands deal with the phrase as a whole, including all its parameters. If you want to edit a parameter, select something in the Parameter View or click on an outlet in the Parameter Block first.
- Move Phrase
- Drag the instrument name of a track header to another container in the Structure View to move the phrase to that container. Hold down ⌥ Ctrl to copy the phrase.
- Order of Instruments
- Move a track with the keys ⇧ Shift + Up or ⇧ Shift + Down or change their order by dragging a track with the mouse.
- Options
- Right-click brings up the menu.
Instrument Groups
The purpose of Instrument Groups is to temporarily create sets of instruments that you want to focus on while editing your score. You may feel tempted to organize instruments by category (Woodwinds, Strings, Brass), but that's probably only useful if the groups are small enough for two or more of them to fit on one screen.